How To Pack a Cooler: The Ultimate Guide

Life is full of adventures—adventures that sometimes take us to faraway places where snacks are a must. Whether it's a road trip, camping, tailgating, or another celebration, it’s important to be prepared. Learning and knowing how to pack a cooler can make or break any trip. It’s important to know the basics so that your next adventure won’t be ruined by something as simple as a poorly-packed cooler.
Believe it or not, there are techniques to packing your cooler that can help your next journey go smoothly. Packing a cooler is one of the best ways to transport your favorite food and drinks, so they’re easily accessible to you and your fellow travelers. Coolers ensure that the food and drinks packed away will stay cold and safe to eat no matter how long the journey.
Coolers are also a great way to keep all your food and beverage in one area while traveling. This saves you the hassle of reaching into the backseat or fumbling through a bag. It’s all in one spot for your convenience.
All that convenience starts with preparing your cooler prior. If you are unsure where to start, don’t worry. This isn’t our first time road-tripping here at Ohza, and we are here to help with any bumps in the road. Here’s how it's done.
Choosing Your Cooler
Before you can pack your cooler to the brim with your favorite snacks, you have to pick out the best cooler for you. There isn’t necessarily one cooler that is above the rest, and each cooler brings something unique to the table. It all depends on what you are looking for in a cooler. Specific insulation, portability, style—it can be hard to narrow it down to what you need and want.
Here are some elements to consider when choosing which cooler you want for your next celebration.
1. Portability
When choosing a cooler, one major thing you need to consider is its portability.
Where you are going can help determine which cooler is perfect for your trip. If you are making a big journey and have limited space, stick to a cooler on the smaller size to save space. If you are lucky enough to have a little elbow room and you’ve got a bigger crew, splurge on the big cooler to keep everyone fed and happy.
2. Features
Just like when you are buying any other kind of appliance, it’s crucial to look at the features it offers.
Does the cooler have wheels? What kind of insulation does it have? How easy is it to drain? These are all important things to consider when investing in a cooler. If you buy the wrong cooler for your needs, it could end in disaster. It never hurts to do some research before investing in a product like this.
3. Strength in Numbers
Once you’ve selected your cooler, consider how many coolers you need to get the job done. You may need two or three coolers for a large group to make ends meet. If you and your partner are just taking off to the mountains for the weekend, you may only need to invest in one.
It’s essential to know how many coolers you need so no one is left wanting more, but your trunk also doesn’t get weighed down by too many things.
How To Pack Your Cooler: A Fool-Proof Guide
Packing a cooler properly may seem like an overwhelming task, but we promise it’s not as hard as it looks. You just need the proper resources and preparation to have cold food and drinks that will last through any of your endeavors.
Once you choose your cooler, you can get to the fun part: packing. Packing a cooler doesn’t need to be an unbearable task, and once you have the technique and etiquette down, you will have all the info you need to pack like a pro.
Now that your cooler has been chosen, it’s time to pack it. While you could easily just toss everything into your cooler and call it a day, using a technique when packing can save you some time and energy that are better spent adventuring.
Sometimes it may seem easiest to be careless and just get on the road, but that extra preparation you put into preparing your cooler goes a long way. If you're looking for a sure-fire way to pack your cooler like a pro, here are our all-inclusive tips to keep your cooler in tip-top shape.
Pre-Packing Pro Tips
There are some simple steps that you can take to help prepare your cooler for packing. With pre-chilling to other simple techniques, you can take your cooler skills from good to great. Here are some quick pro tips to make your cooler experience even better.
1. Chill the Cooler Before Packing
One way to help ensure that your cooler will be ready to go for your next adventure is by chilling it before you even start packing. A cold cooler keeps ice cold longer.
An easy way to do this is to put your unpacked cooler on the porch the night before your next journey or tuck it away somewhere dark and cold before you leave.
2. Freeze Your Food and Drink
Another easy way to guarantee the coldness and freshness of your food and drinks is by freezing them before you pack them away. With items that can be frozen and thawed like meat, this is a great way to keep them fresh, especially when traveling.
This hack works great for beverages too. Just pay careful attention to the container that your drink is in and avoid freezing carbonated beverages. It’s just a simple trick to keep everything nice and chilled before it goes in the cooler.
3. Keep The Cooler Latched and Closed
This is an especially helpful tip if you decide to leave your cooler outside to chill overnight. Before packing, during your trip, and after enjoying the contents inside, it's generally a good idea to keep the door latched and closed. Delicious chilled food and beverages are great; extra passengers who may have crept in are not.
4. Ice Blocks Over Ice Cubes
It’s a good idea to use ice blocks over ice cubes when packing your cooler. Not only will this save you a trip to the store, but the ice blocks will naturally take longer to melt and can easily be made at home using Tupperware.
5. Pack In Layers
It’s important to have a strategy when you're packing. Otherwise, things get messy, and you get overwhelmed, which is the last thing you want on vacation.
Start with the ice blocks on the bottom, then cover the sheet of ice with cardboard or the side of a milk carton. This properly separates your food and drink and keeps everything nice and cold.
How To Pack Your Cooler Like a Pro
When it comes to packing your cooler, there is a general system that you can easily follow to make your life easier.
Keep the coldest items on the very bottom and work your way up to the top of the cooler. Layer more ice between the different levels, working your way up. This will ensure that everything in the cooler remains at the same temperature and the frozen items stay frozen.
The whole point of being intentional with your cooler packing is to preserve the shelf life of the food and drink you are bringing on your trip. Nothing is worse than being out in the heat all day, wanting an ice-cold drink, and opening a cooler full of lukewarm bottles and melted ice. It’s in your best interest to pack properly so you can have the most enjoyable experience.
There are lots of ways to help preserve the cold in your cooler. Here are some of our easiest ways to go about this.
How To Pack Drinks: A Quick Guide
When you are packing your beverages of choice, there are a few simple ways you can do this to ensure maximum chillness. First, consider getting a second cooler specifically for drinks and keeping your food and drink separate. This not only makes it more accessible when you are looking for drinks, but it overall makes things more organized.
Whether you stick to one cooler or two, it’s always a good idea to have a designated space for everything. Keep the drinks all on one side of the cooler so that the lid is open less, therefore keeping the drinks cooler in the long run.
How To Pack Food: A Quick Guide
Packing food is very similar to packing drinks, with a few slight changes.
Remove all the original packaging from the food you are packing and move it to more sturdy packaging like to-go containers or Tupperware. This will help with the food’s overall longevity and quality, especially when you’re freezing it.
Whether you use the two cooler method or keep just the one, pack your frozen food on the very bottom.
What To Pack in Your Cooler
Now that everything is prepped and ready to go for your next adventure, it’s time to pack your cooler. If you are looking for an easy, delicious menu for your next camping trip or on-the-road endeavor, look no further. It can sometimes be overwhelming trying to narrow down what you should or shouldn’t bring.
Here’s what you should pack in your cooler to bring with you on your next adventure.
1. Alcohol
No adventure is complete without some of your favorite vices. An easy thing to pack and store away until you reach your destination is the alcoholic beverages of your choice. Beers, seltzers, and even stronger spirits can be a fun addition to bring with you wherever the party is.
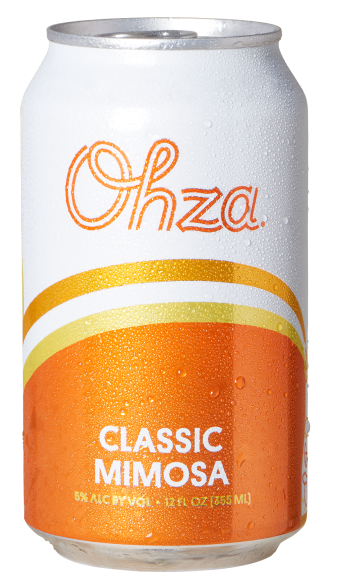
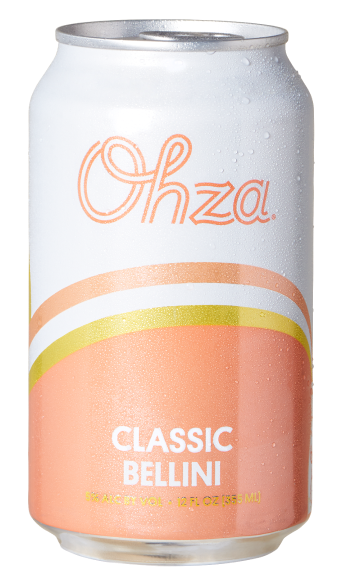
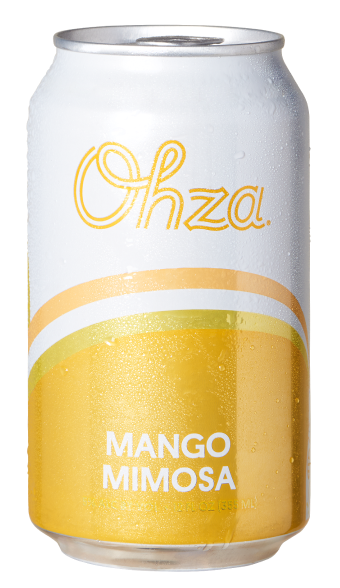
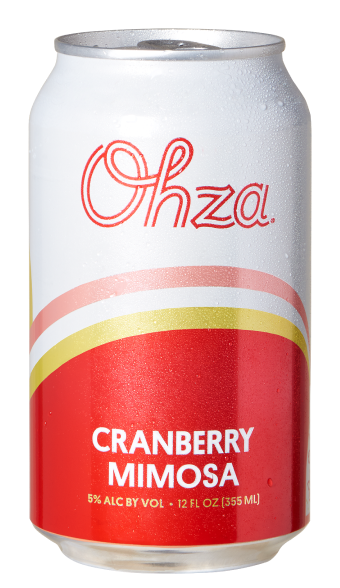
Our favorite option is to bring a pack of Ohza Mimosas. Ohza is portable, easily disposed of, and, best of all: delicious. It’s so easy to store away at the bottom of your cooler so that when the party starts, you already have crisp mimosas ready to go—no matter the time of day or celebration.
If mimosas are not your jam, bring some bottles of beer or cider that are easy to grab and go and be shared amongst friends.
2. Prepped Ingredients
For maximum ease, prep all your ingredients beforehand. When planning your on-the-road menu, it’s a good idea to prep all your ingredients for your meals before you even start packing.
Have all your ingredients, fresh or frozen, set aside in designated bags or jars so that when you begin cooking, wherever you are, everything will already be organized and separated.
If you have the extra time to dedicate to preparing your ingredients for your menu before you even turn the key in your car, your life will be a whole lot easier. This not only helps organize your cooler as a whole but also helps you make meals quickly without fumbling through a crowded cooler.
3. Frozen Water Bottles
If you are traveling somewhere with limited resources, like a campsite, make sure you have access to clean drinking and bathing water.
The easiest way to do this is by freezing plastic water bottles before your trip and packing them in the cooler. These bottles will take a long time to thaw and help you preserve your limited resource.
It’s always wise to be prepared in case of untimely circumstances, and one of the best ways to do this is with frozen plastic water bottles, so you always have access to clean water wherever you go.
A Cooler Packing Pro Tip
Don’t drain all your melted ice. When you are on a long trip, like more than two weeks, drain your cooler a couple of times each day.
If you are on a short trip like a weekend, it’s in your best interest to wait until your trip is over to drain the water. This is because the leftover water does help keep the items in your cooler cool, but not for extended periods of time. Short trip, no draining… long extensive trip, drain it!
Packed and Ready To Go
No matter where life takes you, it’s always a good idea to be prepared. One of the best ways to do this is by properly packing your cooler so that you are not left feeling hungry or thirsty, even in unlikely circumstances.
Stuff happens, even on vacations. Knowing how to pack your cooler properly can help the longevity and enjoyment of your next adventure.
Applying these packing techniques to your next trip will help your overall stress in packing and planning and help you just enjoy the ride. The less stress you have preparing for your vacations, the better. Preparing and packing for your cooler is one of the easiest things you can do to have the best getaway yet. No matter where your adventures lead you next, we can’t wait to be a part of every moment.
Sources:
How to Pack a Cooler for Camping | The Manual
How to Pack a Cooler like a Pro - Fresh Off The Grid
How to Pack a Cooler to Keep Food Fresh Longer | All Recipes


